Deadlock tier list: Every character ranked & explained
 Valve
ValveDeadlock is Valve’s latest MOBA, and it’s got a wide cast of characters like you’d expect from the genre. It should come as no surprise that some of these characters are better than others.
With Deadlock being one of the most popular games on Steam despite having limited Alpha access, Deaddlock is already looking like a smash hit. And, while Valve is constantly updating the game and reworking hero abilities at this early stage of development, we know enough to determine which characters stand out from the rest of the cast.
Just like DOTA 2 before it, the strength of Deadlock‘s characters is determined by not only their individual power, but how easy they are to counter. Every character can be strong in the right situation, but some are easier to counter than others.
Here’s our full Deadlock tier list to help you determine which character you should play if you’ve got access to the Alpha, as well as a full description of all their abilities and their upgrades. If you’re just getting started, we’ve got you covered.
Deadlock tier list: Best characters ranked
Our tiers explained
Here’s a full explanation of what qualifies each character for their respective placement on the Deadlock tier list:
- S: Best of the best, good in pretty much every scenario with diverse build paths and hard to counter
- A: Strong with the right build, although may be countered by certain items or strategies
- B: Either easily countered by items or niche in their usefulness
- C: Can be decent in certain scenarios, but there are better choices
Deadlock characters explained
Each hero in Deadlock has four abilities, marked 1-4 with 4 being their ultimate. Each ability has 3 upgrades available that can be unlocked by getting a certain amount of ability points (1 for Level 1, 2 for Level 2, 5 for Level 3).
Whether you’re just window shopping and want to see what each character does but don’t have Alpha access yet, or if you’re not familiar with what a character does, we’ve got a full breakdown of each hero’s kit and all their ability point upgrades.
S-Tier characters in Deadlock

Abilities:
- 1: Barrage
- Channel to start launching projectiles that deal damage and apply movement slow around their impact point. Each projectile landed on a hero grants you a stacking buff that amps all your damage. If you cast it while in the air, you’ll float and maintain any horizontal momentum you started with.
- Level 1: +15 damage per projectile
- Level 2: -15 second cooldown
- Level 3: +5% amp per stack
- Channel to start launching projectiles that deal damage and apply movement slow around their impact point. Each projectile landed on a hero grants you a stacking buff that amps all your damage. If you cast it while in the air, you’ll float and maintain any horizontal momentum you started with.
- 2: Flying Cloak
- Launch a sentient cloak that travels forward and damages enemies. You can activate the ability again to teleport to its location.
- Level 1: -15 second cooldown
- Level 2: +80 damage
- Level 3: +7 weapon damage for 10 seconds after teleporting
- Launch a sentient cloak that travels forward and damages enemies. You can activate the ability again to teleport to its location.
- 3: Enchanter’s Satchel
- Escape into your suitcase. When the duration ends, deal damage to nearby enemies. Duration can be ended early by performing any action.
- Level 1: -5 second cooldown
- Level 2: +80 damage
- Level 3: Applies 40% fire rate slow for 4 seconds
- Escape into your suitcase. When the duration ends, deal damage to nearby enemies. Duration can be ended early by performing any action.
- 4: Affliction
- Apply damage over time to all enemies nearby. Affliction’s damage is non-lethal and does not apply item procs.
- Level 1: 30 second cooldown
- Level 2: Suppress targets’ healing by -60%
- Level 3: +27 DPS
- Apply damage over time to all enemies nearby. Affliction’s damage is non-lethal and does not apply item procs.
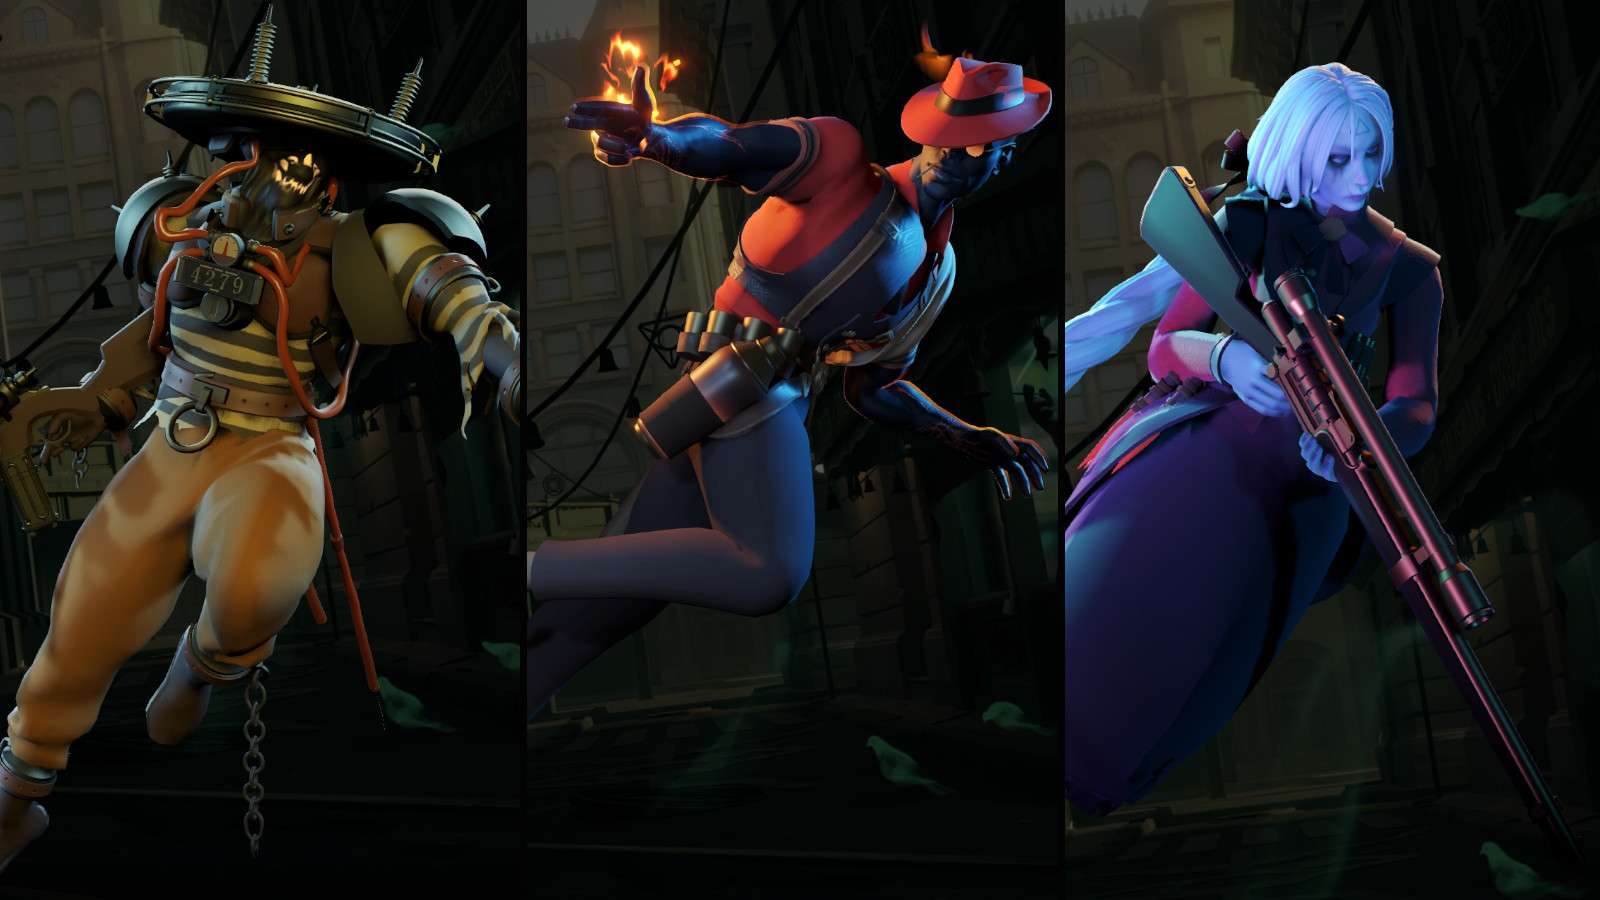
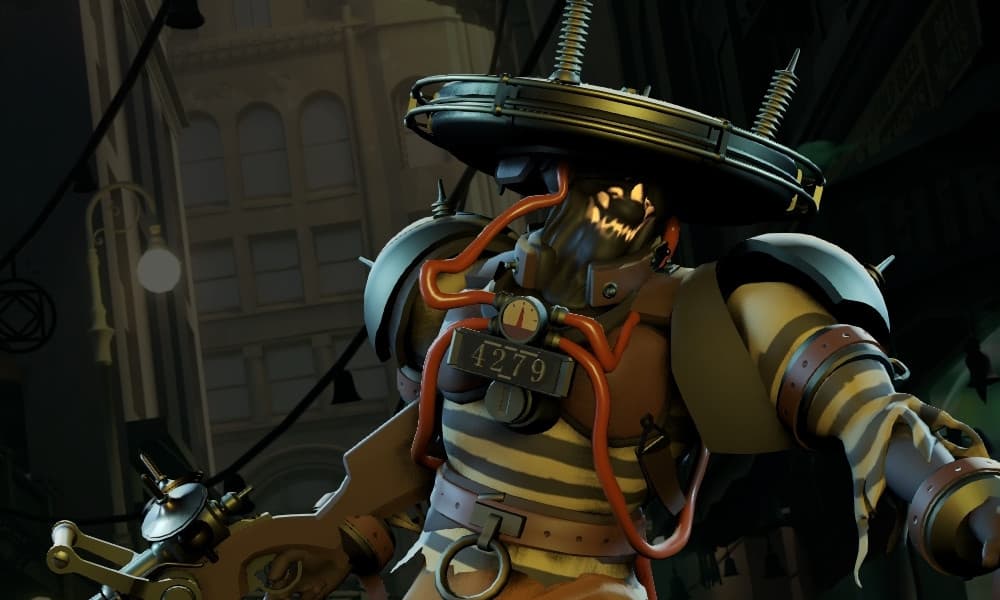
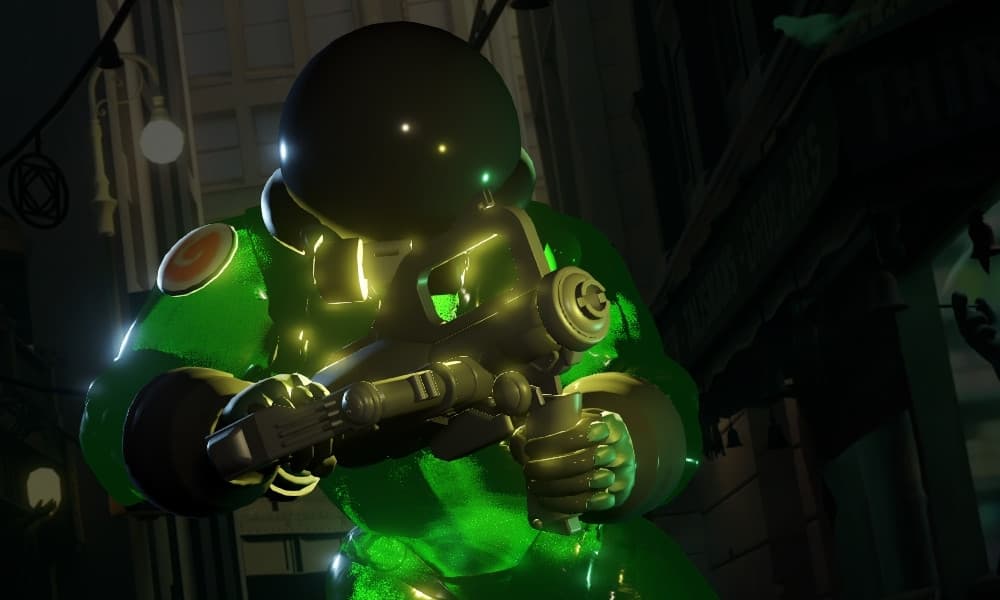
Pocket is easily the most annoying Assassin/close range DPS character to deal with. Killing them is an absolute pain. Between their 2 teleporting them out of danger and their 3 giving them a couple seconds of immunity, locking Pocket down is hard. And, even if Slowing Hex shuts him down, they have options.
Buying an early Debuff Reducer/Debuff Remover against someone with a Slowing Hex or heavy CC will make life much easier for Pocket. And, even if they end up getting Rooted and locked down, their primary fire and ultimate are so strong that they’ll still have a lasting effect on teamfights.
Between their ult’s DoT lasting for what feels like an eternity and having (arguably) the best shotgun in the game, Pocket is an absolute menace that brings damage and utility to the table in spades.
Lady Geist
Abilities
- 1: Essence Bomb
- Sacrifice some of your health to launch a bomb that deals damage after a brief arm time. Self damage type is spirit and can be mitigated.
- Level 1: +2 meter radius
- Level 2: +60 damage
- Level 3: Bombs leave a toxic mess on the ground, dealing 22% of the original damage per second for 6 seconds
- Sacrifice some of your health to launch a bomb that deals damage after a brief arm time. Self damage type is spirit and can be mitigated.
- 2: Life Drain
- Create a tether that drains enemy health over time and heals you. Target must be in line of sight and within max range to drain. You can shoot and use other abilities during the drain, but your movement speed is reduced by half.
- Level 1: +20 damage per second
- Level 2: +2 second duration
- Level 3: Enemy is silenced while being life drained
- Create a tether that drains enemy health over time and heals you. Target must be in line of sight and within max range to drain. You can shoot and use other abilities during the drain, but your movement speed is reduced by half.
- 3: Malice
- Sacrifice some of your health to launch blood shards that apply a stack of Malice. Each stack slows the victim and increases damage they take from you. The slow effect decreases over time.
- Level 1: -3 second cooldown
- Level 2: +40 health to damage
- Level 3: +6 blood shards
- Sacrifice some of your health to launch blood shards that apply a stack of Malice. Each stack slows the victim and increases damage they take from you. The slow effect decreases over time.
- 4: Soul Exchange
- Swap health levels with an enemy target. There is a minimum health percentage that enemies can be brought down to and a minimum amount of health received based on victim’s current health.
- Level 1: -40 second cooldown
- Level 2: -10% minimum enemy health
- Level 3: On cast, +40% fire rate and +40% spirit resist for 8 seconds
- Swap health levels with an enemy target. There is a minimum health percentage that enemies can be brought down to and a minimum amount of health received based on victim’s current health.
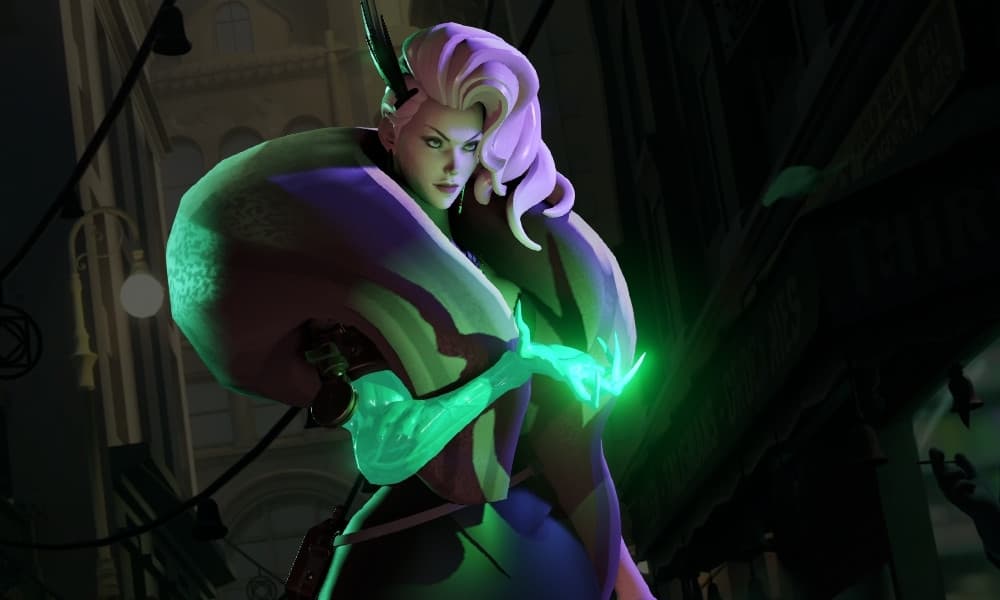
With Lady Geist having two strong builds under her belt, one of which can focus on weapon damage while the other focuses spirit damage, it’s no surprise that she’s an S-Tier pick. If you’re a sharpshooter and think you can land headshots, she’s great. If you can’t aim and want to throw bombs with a hitbox the size of a barn, Geist is for you.
Her bomb’s wave clear combined with the strong silence on her 2 and the turnaround potential on her life bar swap ultimate make Geist a force of nature for both sidelaning and teamfighting, and someone who knows how to use her can easily find ways to carry.
If you get too close to Lady Geist, she steals all your health. If you’re too far away? She pokes you down. It’s very difficult to get the leg up against this character, and that makes her an S-Tier pick.
Dynamo

Abilities
- 1: Kinetic Pulse
- Release an energy pulse that knocks enemies up into the air.
- Level 1: Hit enemies are fire rate and movement slowed by 40% for 4 seconds
- Level 2: Dynamo deals 30% more weapon damage to enemies hit for 8 seconds
- Level 3: +125 damage
- Release an energy pulse that knocks enemies up into the air.
- 2: Quantum Entanglement
- Dynamo briefly disappears into the void and then reappears a short distance away. On reappearing, your weapon is reloaded and has a fire rate bonus for the next clip. Can be cast on nearby allies as well, giving them half the (25% base) fire rate bonus.
- Level 1: +4 meter cast range
- Level 2: +25% fire rate bonus
- Level 3: On reappearing, +120% base ammo
- Dynamo briefly disappears into the void and then reappears a short distance away. On reappearing, your weapon is reloaded and has a fire rate bonus for the next clip. Can be cast on nearby allies as well, giving them half the (25% base) fire rate bonus.
- 3: Rejuvenating Aurora
- While channeling, restore health over time to you and any allies nearby.
- Level 1: Gain +4 meters per second movement speed bonus for 8 seconds if Aurora is fully channeled. Gained instantly at Level 3 upgrade.
- Level 2: -15 second cooldown
- Level 3: Full move and ability use while channeling and additionally heals +4% max health per second
- While channeling, restore health over time to you and any allies nearby.
- 4: Singularity
- Create a singularity in your hands that pulls in nearby enemies and damages them. Once it’s finished, enemies get knocked into the air.
- Level 1: +2 meter Singularity radius
- Level 2: +0.75 second duration
- Level 3: Singularity takes 3.8% of enemies’ max health each second
- Create a singularity in your hands that pulls in nearby enemies and damages them. Once it’s finished, enemies get knocked into the air.
If you’re looking for a support character with the potential to completely flip a match on its head, Dynamo is the pick for you. He doesn’t have the best primary weapon or the strongest damage output, but his utility makes any team better.
Whether it be the knockup and damage boost on his 1, the immunity frames on his 2 that can immune game-changing ults with the right timing, his 3 being one of Deadlock’s best heals, and his ult locking entire teams in place for several seconds, Dynamo has a ton of impact on the game regardless of how much income he has.
Dynamo has some weaknesses, sure, but they’re vastly outweighed by his strengths. If you’re looking for a character that fills that supportive role, he’s your best bet.
Ivy
Abilities
- 1: Kudzu Bomb
- Summon a patch of choking vines that damage and slow enemies in its radius.
- Level 1: +1 charge
- Level 2: +2 second duration
- Level 3: +60 DPS
- Summon a patch of choking vines that damage and slow enemies in its radius.
- 2: Watcher’s Convenant
- Gain bonuses and automatically connect with a nearby ally to share them. Healing is replicated among all those connected. Connection requires line of sight.
- Level 1: +10% fire rate
- Level 2: +3 meters per second movement speed
- Level 3: +1 Tether count
- Gain bonuses and automatically connect with a nearby ally to share them. Healing is replicated among all those connected. Connection requires line of sight.
- 3: Stone Form
- Turn yourself into impervious stone and smash into the ground, stunning and damaging nearby enemies. Heals you for 10% of your max health. You have some air control before falling.
- Level 1: -20 second cooldown
- Level 2: +80 damage and stuns for 0.5 seconds
- Level 3: +20% max heal
- Turn yourself into impervious stone and smash into the ground, stunning and damaging nearby enemies. Heals you for 10% of your max health. You have some air control before falling.
- 4: Air Drop
- Take flight with an ally or a bomb. Ally gains bullet resist but cannot attack or use abilities while lifted. Drop your ally or bomb to cause a large explosion that inflicts movement slow. Ivy and ally gain a bullet shield when flying ends.
- Level 1: -20% bullet resist on enemies hit for 12 seconds
- Level 2: +300 Bullet Shield and +5 meter explosion radius
- Level 3: Applies silence on enemies hit for +4.5 seconds
- Take flight with an ally or a bomb. Ally gains bullet resist but cannot attack or use abilities while lifted. Drop your ally or bomb to cause a large explosion that inflicts movement slow. Ivy and ally gain a bullet shield when flying ends.
Ivy is yet another support option, though she’s a bit more offensively oriented than Dynamo. She’s entirely designed around bullying people out of lane due to her primary having fast fire rate, projectile speed, and reload. Combined with the area denial on her 1, farming against Ivy is a nightmare.
Additionally, her 2’s bonus fire rate and healing for herself and allies makes her a boon in teamfights, her 3 makes her impossible to kill, and her ult is a great escape tool at worst, and a method of dragging a fed Seven around the map or easily securing urn at best.
There’s never a time that you wouldn’t want Ivy on your team, especially since she can hold her own as both a damage dealer and a support.
Warden

Abilities
- 1: Alchemical Flask
- Throw a flask that damages, slows, and reduces the weapon damage and stamina of enemies it hits.
- Level 1: +40 damage
- Level 2: +1 stamina reduction
- Level 3: -7 second cooldown and applies 35% fire rate slow
- Throw a flask that damages, slows, and reduces the weapon damage and stamina of enemies it hits.
- 2: Willpower
- Gain a spirit shield and bonus movement speed.
- Level 1: +20% movement speed bonus
- Level 2: -20 second cooldown
- Level 3: +200 spirit shield health and now scales with spirit power
- Gain a spirit shield and bonus movement speed.
- 3: Binding Word
- Curse an enemy hero. If they don’t move away from their initial position within the escape time, they will be damaged and immobilized.
- Level 1: +1 second immobilize duration
- Level 2: -20 second cooldown
- Level 3: Warden deals +20% more bullet damage to trapped heroes for 6 seconds
- Curse an enemy hero. If they don’t move away from their initial position within the escape time, they will be damaged and immobilized.
- 4: Last Stand
- After charging for 2.2 seconds, release pulses that damage enemies and heal you based on the damage done.
- Level 1: +3 meter radius
- Level 2: +70 DPS
- Level 3: -60 second cooldown
- After charging for 2.2 seconds, release pulses that damage enemies and heal you based on the damage done.
Warden is one of Deadlock’s biggest bullies. He’s difficult to 1v1, has strong scaling for both spirit and weapon damage, very strong 1v1 potential, and an ult with enough damage to hard-carry a teamfight. If he’s able to channel it, Warden can rip through an entire team on his own.
Additionally, there are methods of making up for his shortcomings if you’re experienced with the character. His 1 may not have an indicator like most other abilities, but it’s got a lot more range than you’d think once you get a feel for the arc on it. His 3 is somewhat easy to get out of, but a Slowing Hex fixes that issue.
There are few characters as sturdy and effective as Warden, and it’s hard to argue he’s anything but an S-Tier pick.
A-Tier
Yamato
Abilities
- 1: Power Slash
- Channel to increase damage over 1.5 seconds, then release a fully charged sword strike. Can be released early to deal partial damage.
- Level 1: Gain +60 bullet resist while channeling
- Level 2: Apply 40% movement slow for 3 seconds
- Level 3: +200 full charge damage
- Channel to increase damage over 1.5 seconds, then release a fully charged sword strike. Can be released early to deal partial damage.
- 2: Flying Strike
- Throw a grappling hook to reel yourself toward an enemy, damage and slowing the target when you arrive.
- Level 1: +25% movement slow
- Level 2: +20 meter cast range
- Level 3: +6 weapon damage for 10 seconds after striking the target
- Throw a grappling hook to reel yourself toward an enemy, damage and slowing the target when you arrive.
- 3: Crimson Slash
- Slash enemies in front of you, damaging them and slowing their fire rate. If any enemy heroes are hit, you heal.
- Level 1: +30% fire rate slow
- Level 2: +10% max health healed on hero hit
- Level 3: -6 second cooldown
- Slash enemies in front of you, damaging them and slowing their fire rate. If any enemy heroes are hit, you heal.
- 4: Shadow Transformation
- Become infused with Yamato’s shadow soul. After an initial invincible transformation, your abilities are refreshed and are 60% faster, your weapon has infinite ammo, and you gain damage resist and immunity to negative status effects. You are unable to die in this mode.
- Level 1: -30 second cooldown
- Level 2: +4 meters per second move speed
- Level 3: +1.5 second duration
- Become infused with Yamato’s shadow soul. After an initial invincible transformation, your abilities are refreshed and are 60% faster, your weapon has infinite ammo, and you gain damage resist and immunity to negative status effects. You are unable to die in this mode.
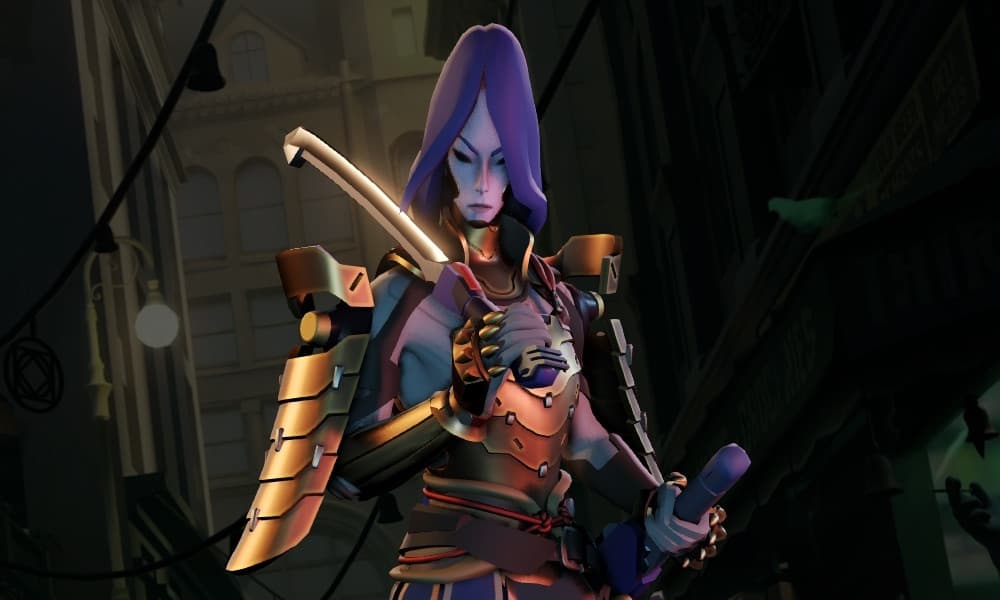
Yamato is definitely one of the most unique characters on Deadlock’s roster. A heavy reliance on abilities, generally limited range, but with a ton of carry potential if she’s played properly, she’s not for the faint of heart. Learning how to properly use her primary fire and getting through lane phase is half the battle with her.
However, if you get out of lane with decent farm and know how to pick targets, Yamato feels unstoppable. Her ultimate making her immune to CC and even death itself makes the swordswoman incredibly hard to keep down.
This, combined with generally strong ability damage and sustain across the board and a build that skews on the tankier side makes Yamato incredibly effective. She just doesn’t have quite as much influence or pressure early as someone like Warden.
Seven
Abilities
- 1: Lightning Ball
- Shoot a ball of lightning that travels in a straight line. Does damage to all targets in its radius. Slows down when damaging enemies and stops if it hits the world.
- Level 1: +1 Charge
- Level 2: +40% movement slow
- Level 3: +70 DPS
- Shoot a ball of lightning that travels in a straight line. Does damage to all targets in its radius. Slows down when damaging enemies and stops if it hits the world.
- 2: Static Charge
- Apply a charge to a target enemy hero. After a short duration, the static charge stuns and damages enemies within the radius.
- Level 1: -20 second cooldown
- Level 2: +7 meter radius
- Level 3: +1.1 second stun duration
- Apply a charge to a target enemy hero. After a short duration, the static charge stuns and damages enemies within the radius.
- 3: Power Surge
- Power up your weapon with a shock effect, making your bullet proc shock damage on your target. This shock damage bounces to enemies near your target. Occurs once per burst shot.
- Level 1: Shock damage applies -15% spirit resist for 8 seconds
- Level 2: -16 second cooldown
- Level 3: +12 shock damage, improve spirit scaling, and +3 max jumps
- Power up your weapon with a shock effect, making your bullet proc shock damage on your target. This shock damage bounces to enemies near your target. Occurs once per burst shot.
- 4: Storm Cloud
- Channel an expanding storm cloud around you that damages all enemies within its radius. Enemies do not take damage when they are out of line of sight.
- Level 1: +35% bullet resist while channeling Storm Cloud
- Level 2: +7 second channel time and +10 meter radius
- Level 3: +75 DPS
- Channel an expanding storm cloud around you that damages all enemies within its radius. Enemies do not take damage when they are out of line of sight.
Seven is one of the easiest and most straightforward casters in Deadlock, with his abilities being very difficult to miss. His 1 has a ton of range and a big hitbox, his 2 is a guaranteed (albeit delayed) stun, and his 3’s damage amp and arcing lightning only makes things easier.
But Seven’s ult is really where it’s at. If you fully spec into his ultimate and get enough farm under your belt, Seven can act as an unstoppable force of nature that claims massive portions of the map for himself. This is made even more powerful when paired with an Ivy ult or someone with enough movement speed and a rescue beam.
That said, Seven doesn’t do much from behind, and he’s pretty easy to dive and shut down in the earlier stages of the game. He’s not quite S-Tier.
Infernus
Abilities
- 1: Catalyst
- Spew napalm that slows enemy movement and amplifies damage Infernus does to them.
- Level 1: +1 Charge
- Level 2: Infernus gains 20% Lifesteal against victims
- Level 3: +10% damage amp and -40% heal/regen
- Spew napalm that slows enemy movement and amplifies damage Infernus does to them.
- 2: Flame Dash
- Move forward at high speed and leave a flame trail that burns enemies.
- Level 1: +30% fire rate slow for 7 seconds
- Level 2: +45 DPS
- Level 3: -20 second cooldown
- Move forward at high speed and leave a flame trail that burns enemies.
- 3: Afterburn
- Your bullets build up to apply a burning effect on enemies. Infernus’ bullets and abilities refresh the duration.
- Level 1: Victims deal -30% spirit damage.
- Level 2: +1 second burn duration
- Level 3: +30 DPS
- Your bullets build up to apply a burning effect on enemies. Infernus’ bullets and abilities refresh the duration.
- 4: Concussive Combustion
- Turns you into a living bomb that explodes after a short delay, stunning all enemies in its radius.
- Level 1: -40 second cooldown
- Level 2: +0.5 second stun duration and +4 meter radius
- Level 3: +115 damage and 100% lifesteal from enemy heroes hit
- Turns you into a living bomb that explodes after a short delay, stunning all enemies in its radius.
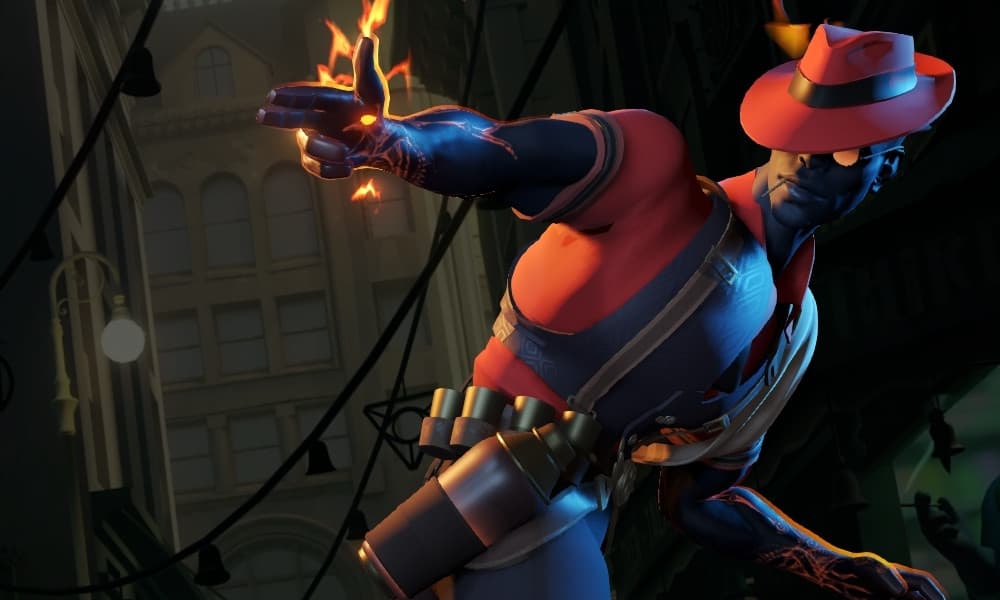
If you’re looking for a reliable, consistent all-rounder that’s easy to play and has tons of carry potential, Infernus is your best bet. His AoE damage is pretty underwhelming until you get points in his fire trail, but the sheer amount of mixed DPS he does when an enemy is ignited by his 3 shreds even the tankiest of targets.
Infernus does have a ton of damage under his belt in teamfights as long as you’re willing to get up close, but getting close enough for his ult and 2 to be effective is a risky proposition. And, while his ult is one of the strongest teamfight ults in the game on paper, there are a ton of ways to counter it in practice due to the long windup it’s got.
The fact that Infernus has to get so close to reach his full damage potential while being easy to lock down keep him out of S-Tier, but he’s a strong pick nonetheless.
If you’re looking to pick up Infernus, check out our guide to get started.
Mo & Krill

Abilities
- 1: Scorn
- Deal damage to nearby enemies and heal yourself based on damage done. Heal is stronger against enemy heroes.
- Level 1: -4 second cooldown
- Level 2: +25 damage
- Level 3: Adds a debuff to enemies that lets Mo & Krill deal +15% damage to them. Debuff lasts for 16 seconds and can be stacked.
- Deal damage to nearby enemies and heal yourself based on damage done. Heal is stronger against enemy heroes.
- 2: Burrow
- Burrow underground, moving faster and gaining spirit and bullet armor. Damage from enemy heroes will reduce the speed bonus. When you jump out, knock enemies into the air and perform a spin attack that damages and slows.
- Level 1: +3 second burrow time
- Level 2: +140 spin DPS and +2 radius
- Level 3: -20 second cooldown and +3 meters per second movement speed
- Burrow underground, moving faster and gaining spirit and bullet armor. Damage from enemy heroes will reduce the speed bonus. When you jump out, knock enemies into the air and perform a spin attack that damages and slows.
- 3: Sand Blast
- Spray sand that disarms enemies in front of you and deals damage.
- Level 1: +1.5 second duration
- Level 2: -20 second cooldown
- Level 3: Slow targets by 50%
- Spray sand that disarms enemies in front of you and deals damage.
- 4: Combo
- Hold the target in place, stunning them and dealing damage during the channel. If they die during combo, you permanently gain 30 max health.
- Level 1: -30 second cooldown
- Level 2: Combo duration +1 second
- Level 3: +40 damage per second and 100% lifesteal
- Hold the target in place, stunning them and dealing damage during the channel. If they die during combo, you permanently gain 30 max health.
Mo & Krill wasn’t typically regarded as a top-tier character through most of Deadlock’s Alpha. He’s got decent sustain and utility, but limited range, an ultimate that locks him in place and only CCs a single target, and a hitbox the size of an 18-wheeler that makes them easy to poke out of lane.
However, the key to Mo & Krill lies with maxing their 2. Once you get out of the lane phase and get a couple items under your belt, this duo can roam around, gank lanes, and clear camps faster than almost any other character in Deadlock. As long as your laners don’t suffer too much for you not being around, Mo & Krill can gain a massive lead simply by farming camps when they spawn and controlling the map.
If you’re looking for an extremely effective roamer who can snowball the entire map while building a farm lead, Mo & Krill is the duo you’ll perform best with.
Grey Talon
Abilities
- 1: Charged Shot
- Charge up a powerful shot that pierces through enemies.
- Level 1: +1 Charge
- Level 2: +70 damage
- Level 3: Improved damage scaling and -3 second charge delay
- Charge up a powerful shot that pierces through enemies.
- 2: Rain of Arrows
- Launches you high in the air, allowing you to glide slowly. While airborne, you gain weapon damage and multishot on your weapon.
- Level 1: -15 second cooldown
- Level 2: While airborne, +7 weapon damage and weapon applies 40% movement slow for 1.5 seconds.
- Level 3: While airborne, +50% bullet lifesteal and +50% spirit lifesteal
- Launches you high in the air, allowing you to glide slowly. While airborne, you gain weapon damage and multishot on your weapon.
- 3: Immobilizing Trap
- Throw out a trap that begins to arm itself. Once armed, the trap will trigger when an enemy enters its radius, immobilizing them.
- Level 1: -20 second cooldown
- Level 2: +1 second immobilize duration
- Level 3: Grey Talon deals +30% more bullet damage to enemies hit by immobilizing trap for 10 seconds
- Throw out a trap that begins to arm itself. Once armed, the trap will trigger when an enemy enters its radius, immobilizing them.
- 4: Guided Owl
- After 1.5 second cast time, launch a spirit owl that you control that explodes on impact, damaging and stunning enemies. Gain 5 permanent spirit power for each hero killed with Guided Owl.
- Level 1: +100 damage
- Level 2: -50 second cooldown
- Level 3: After hit, kills enemies that are below 22% health
- After 1.5 second cast time, launch a spirit owl that you control that explodes on impact, damaging and stunning enemies. Gain 5 permanent spirit power for each hero killed with Guided Owl.
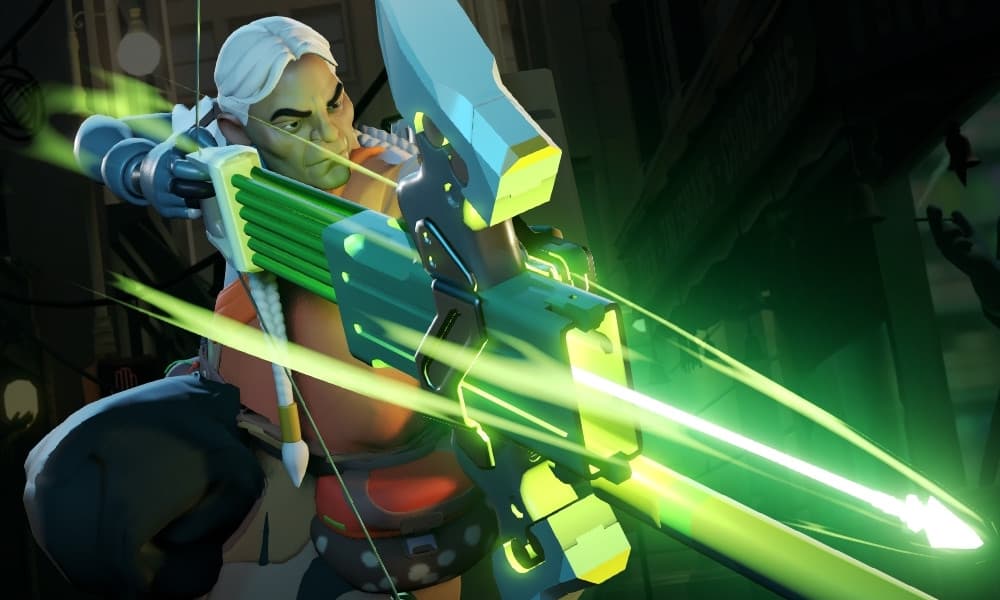
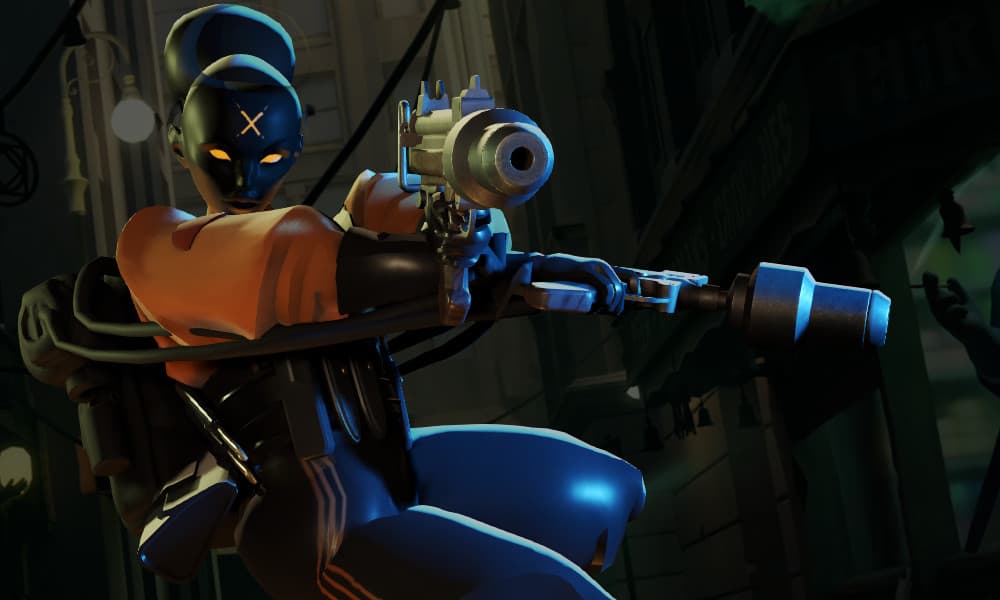
If you’re looking for the best sniper in Deadlock, Grey Talon’s the one. He’s got a ton of range, oppressive DPS that outpaces most other characters in the category, and some incredibly hard to deal with traps. Laning against Talon is an absolute pain if you don’t have sustain, and it’s hard to feel safe when he’s on the map.
While he does have the same pitfall as other fragile DPS characters in his severe lack of self peel, his damage is overwhelmingly strong and his split push is so good that those shortcomings don’t keep him out of A-Tier. Plus, his traps are much harder to deal with than most other CC abilities.
There are few things in Deadlock scarier than the sound of Grey Talon’s ult flying at you and his arrows whistling by in lane.
Abrams

Abilities
- 1: Siphon Life
- Drain health from enemies around you while they are in the radius
- Level 1: -20 second cooldown
- Level 2: +2 second duration
- Level 3: +40 damage per second
- Drain health from enemies around you while they are in the radius
- 2: Shoulder Charge
- Charge forward, colliding with enemies and dragging them along. Hitting a wall will Stun enemies caught by Abrams. Speed increased after colliding with enemy heroes.
- Level 1: -20 second cooldown
- Level 2: +0.5 second duration
- Level 3: +5.5 weapon damage for 8 seconds after colliding with enemy
- Charge forward, colliding with enemies and dragging them along. Hitting a wall will Stun enemies caught by Abrams. Speed increased after colliding with enemy heroes.
- 3: Infernal Resilience
- Regenerate a portion of incoming damage over time.
- Level 1: +1.5 health regen
- Level 2: +150 HP
- Level 3: +9% damage regenerated
- Regenerate a portion of incoming damage over time.
- 4: Seismic Impact
- Leap high into the air and choose a ground location to crash into. When you hit the ground, all enemies in the radius are damaged and stunned.
- Level 1: -40 second cooldown
- Level 2: Gain 100 max HP and 15% fire rate per hero hit. Lasts 25 seconds
- Level 3: On cast, become immune to Stun, Silence, Sleep, Root, and Disarm. Expires 3 seconds after landing
- Leap high into the air and choose a ground location to crash into. When you hit the ground, all enemies in the radius are damaged and stunned.
In terms of survivability, Abrams is the tankiest character you can possibly pick. What he lacks in range, he makes up for in gap close, sustain, a huge amount of melee damage, and some strong CC. His 1 has a ton of healing, his 2 slams enemies right into walls, and his ult is a very strong engage tool that only gets better as it gets leveled.
He struggles a bit against characters who can zone him and keep him at a distance, but once Abrams is up close, he dishes a ton of punishment. If you don’t counter-build him and cut down on his healing, he’ll be impossible to kill as well.
However, well-timed parries can stun Abrams and leave him open to getting bursted down, and building anti-heal will cut down his survivability immensely.
Shiv

Abilities
- 1: Serrated Knives
- Throw a knife that damages and slows an enemy. Each additional hit adds a stack and refreshes the debuff duration, causing the damage to increase per stack.
- While rage is full, knives will ricochet to another enemy and apply a 35% slow to enemies they bleed.
- Level 1: +1 Charge
- Level 2: +2 second debuff duration
- Level 3: +40 damage and +5 bleed DPS
- 2: Slice and Dice
- Perform a dash forward, damaging enemies along the path.
- While rage is full, an echo of Shiv retraces the dash path after a short delay, damaging enemies again.
- Level 1: -4 second cooldown
- Level 2: +100 damage
- Level 3: Reduce cooldown by 2 seconds per enemy hit. Max 6 seconds per dash
- 3: Bloodletting
- Take only a portion of incoming damage immediately and defer 35% of the damage to be taken over time. Activate to clear a portion of the deferred damage.
- While rage is full, the amount of damage deferred is increased by 15%.
- Level 1: +5 second deferred damage duration
- Level 2: -5 second cooldown
- Level 3: +25% deferred damage cleared
- 4: Killing Blow
- Activate to leap toward an enemy hero and instantly kill them if their health is below the kill threshold (20% HP). Otherwise, deal 200 damage to them.
- Passive: Damaging enemies fills you with rage. While at full rage, Shiv gains 25% increased damage and special properties on his other abilities.
- Level 1: Gain +2 meters per second movement speed while at full rage
- Level 2: +8% health execute threshold
- Level 3: Finishing off an enemy with Killing Blow resets its cooldown
Shiv is one of the few characters added after the Alpha went live, and he was released in a monstrous state. From his bleed knives being pinpoint accurate and faster than most bullets to his high mobility, strong primary fire, damage mitigation, and execute mechanics, Shiv is pretty much everything you’d want in an assassin.
If this character gets rolling, he’s really hard to stop, especially at later points in the game where his 3 will keep him alive far after the point most characters would be dead. However, if Shiv’s behind, he doesn’t offer much. This character has to snowball to be useful.
Shiv’s strength from ahead lands him in A-Tier, but he’s damn close to S.
B-Tier
Bebop
Abilities
- 1: Exploding Uppercut
- Deal light melee damage to nearby units and send them flying back, causing area damage where they land. Does not damage allies, but can knock them back.
- Level 1: -11 second cooldown
- Level 2: On Uppercutting enemy hero, gain fast spin-up time on your primary fire, 2x range, and +60% weapon damage for 12 seconds
- Level 3: On Uppercutting enemy hero, set hook cooldown to 0 and instantly +100% bullets to your current clip
- Deal light melee damage to nearby units and send them flying back, causing area damage where they land. Does not damage allies, but can knock them back.
- 2: Sticky Bomb
- Attach a Sticky Bomb to a nearby target that deals explosive damage after a short fuse time. Gain +2.5% bomb damage permanently for every enemy hero hit. You can cast Sticky Bomb on yourself.
- Level 1: -8 second cooldown
- Level 2: +80 damage
- Level 3: On Attach, disarms the target for 3.5 seconds
- Attach a Sticky Bomb to a nearby target that deals explosive damage after a short fuse time. Gain +2.5% bomb damage permanently for every enemy hero hit. You can cast Sticky Bomb on yourself.
- 3: Hook
- Launch out a hook that grabs and reels in the first enemy or friendly hero it hits, dealing damage if the target is an enemy. Target will be placed where you’re facing.
- Level 1: Bebop deals 30% more bullet damage against hooked enemies for 10 seconds
- Level 2: +30 meter cast range
- Level 3: -12 second cooldown
- Launch out a hook that grabs and reels in the first enemy or friendly hero it hits, dealing damage if the target is an enemy. Target will be placed where you’re facing.
- 4: Hyper Beam
- Charge up your laser to unleash a powerful torrent of energy that deals damage and slows enemies’ movement and dashes. You have slow movement and turn rate for the duration. If activated in the air, you hover while unleashing the beam.
- Level 1: -40 second cooldown
- Level 2: +100 DPS
- Level 3: Hyper Bear heals Bebop for 100% of its damage on heroes, 33% for non-heroes
- Charge up your laser to unleash a powerful torrent of energy that deals damage and slows enemies’ movement and dashes. You have slow movement and turn rate for the duration. If activated in the air, you hover while unleashing the beam.
Bebop exists to make laning a nightmare. His absolute strongest point in the game is when he can pull enemies under tower and pick them off early on, snowballing lanes in his favor and making life easy for his lane partner. Additionally, Bebop’s primary fire shreds minions and secures souls with ease.
The character is entirely built around this pull and his ult, however, making his playstyle a bit one-dimensional in most cases. Win lane, win game. But, if Bebop doesn’t gain an advantage for him and his lane partner, you’ve got a much lower chance of pulling out a W due to how many items and characters counter Bebop.
And, while his ultimate has a ton of power behind it to try and close out games, Bebop’s strengths are inconsistent enough that he belongs in B-Tier. Good Bebop players are scary, but only in certain scenarios.
Viscous
Abilities
- 1: Splatter
- Throw a ball of goo that deals damage and leaves puddles of goo behind that apply movement slow to enemies in the radius.
- Level 1: -6 second duration
- Level 2: +70 damage and +1 meter radius
- Level 3: Bounces 2 times
- Throw a ball of goo that deals damage and leaves puddles of goo behind that apply movement slow to enemies in the radius.
- 2: The Cube
- Encase the target in a cube of restorative goo that purges debuffs, protects from damage, and increases health regen. Target is unable to take any new actions while cubed. Can be used on self.
- Level 1: Increases movement speed and stamina recovery
- Level 2: -22 second cooldown
- Level 3: +60 health regen
- Encase the target in a cube of restorative goo that purges debuffs, protects from damage, and increases health regen. Target is unable to take any new actions while cubed. Can be used on self.
- 3: Puddle Punch
- Materialize a fist in the world that punches units in the area and sends them flying. Enemies will be dealt damage, have their dash distance reduced for a brief moment, and have their movement speed slowed. This is considered a light melee attack.
- Level 1: +1 Charges
- Level 2: -10 second cooldown
- Level 3: +80 damage and +20% movement slow
- Materialize a fist in the world that punches units in the area and sends them flying. Enemies will be dealt damage, have their dash distance reduced for a brief moment, and have their movement speed slowed. This is considered a light melee attack.
- 4: Goo Ball
- Morph into a large goo ball that deals damage and stuns enemies on impact. The ball grants large amounts of Bullet and Spirit resist, bounces off walls, and can double jump.
- Level 1: +5 second duration
- Level 2: +120 damage on impact
- Level 3: Can cast abilities and use items while rolling
- Morph into a large goo ball that deals damage and stuns enemies on impact. The ball grants large amounts of Bullet and Spirit resist, bounces off walls, and can double jump.
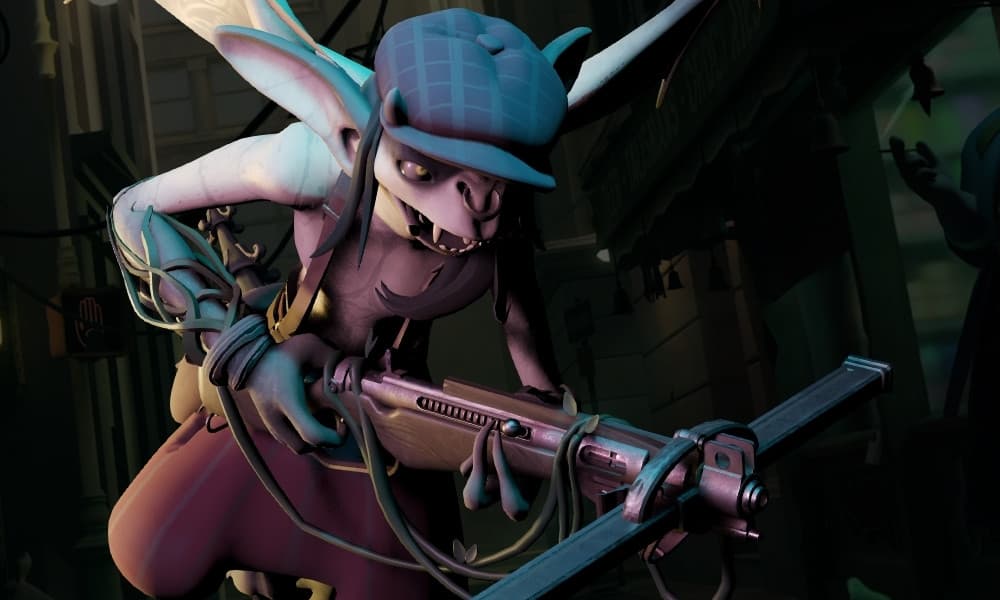
Out of every hero on the Deadlock roster, Viscous is definitely the most awkward to use. His abilities are unwieldy at the best of times, especially considering how easily their 3 clips on geometry and flies out in a direction you weren’t expecting. That, and their 2 simultaneously being a strong heal and a way to accidentally troll your teammates.
However, Viscous has one of the best ults in the game, an ult that easily makes them the tankiest character in the game. Once you hit late game and have free use of your abilities in ult, you become a hard carry. Early on, though? Viscous isn’t great in lane and requires levels/items to have an impact.
Viscous is a mixed bag, a character that can be useful and carry matches, but also one that can accidentally throw them. He’s a bit too inconsistent to justify any ranking higher than B.
Haze
Abilities
- 1: Sleep Dagger
- Throw a dagger that damages and sleeps the target. Sleeping targets wake up shortly after being damaged. Throwing a Dagger does not break your invisibility. Sleep dagger does not interrupt enemies’ channeling abilities.
- Level 1: Removes 1 stamina
- Level 2: -13 second cooldown
- Level 3: Applies -12% bullet resist for 6 seconds on wake up
- Throw a dagger that damages and sleeps the target. Sleeping targets wake up shortly after being damaged. Throwing a Dagger does not break your invisibility. Sleep dagger does not interrupt enemies’ channeling abilities.
- 2: Smoke Bomb
- Fade out of sight, becoming invisible and gaining sprint speed. Attacking removes invisibility. Close enemies can see through your invisibility.
- Level 1: -15 second cooldown
- Level 2: +6 meters per second invis sprint speed
- Level 3: After invis, gain +30% bullet lifesteal for 8 seconds
- Fade out of sight, becoming invisible and gaining sprint speed. Attacking removes invisibility. Close enemies can see through your invisibility.
- 3: Fixation
- Shooting a target increases your bullet damage on that target. Gain one stack of +0.2 weapon damage per bullet hit, two if the hit is a headshot.
- Level 1: 60 spirit damage and 15% slow for 2 seconds to target every 20 stacks
- Level 2: +30 max stacks and +5 second duration
- Level 3: +0.2 weapon damage per stack
- Shooting a target increases your bullet damage on that target. Gain one stack of +0.2 weapon damage per bullet hit, two if the hit is a headshot.
- 4: Bullet Dance
- Enter a flurry, firing your weapon at nearby enemies with perfect accuracy. During the flurry, Haze gains a fire rate bonus and will evade some of the bullet shot at her.
- Note: This ultimate applies weapon damage on-hit effects
- Level 1: +7 weapon damage
- Level 2: -40 second cooldown
- Level 3: +1 targets hit per shot
Haze is one of Deadlock’s few roam-dedicated characters, someone who has generally weak lane pressure and feels a lot better when they get to run around the map and sow the seeds of chaos in other lanes. And, from ahead, Haze is definitely a threat.
From behind, though? Not so much. Haze really needs to get a snowball going to get useful, especially considering her only reliable AoE teamfight damage is on her ultimate. Outside of the single target sleep on her 1, she doesn’t offer any utility. And, while she’s good for picking off single targets, her teamfighting is inconsistent since her ult is easy to walk right out of and can be countered by items like Steel Skin, Curse, or general CC.
She may feel oppressive at first, but, once you learn how to properly play against and counterbuild Haze, she’s much less of a threat. The player has more than enough tools at their disposal to counter her, and she doesn’t have many ways to deal with someone who knows her weaknesses if she isn’t monstrously far ahead.
Vindicta
Abilities
- 1: Stake
- Throw a stake that tethers enemies to the location where the stake lands. Enemy movement is restricted to the length of the tether.
- Level 1: +0.75 Tether duration
- Level 2: -20 second cooldown
- Level 3: Tethered enemies are also disarmed
- Throw a stake that tethers enemies to the location where the stake lands. Enemy movement is restricted to the length of the tether.
- 2: Flight
- Leap into the air and fly. While in flight, your weapon deals bonus spirit damage.
- Level 1: +50% base ammo while flying
- Level 2: -15 second cooldown
- Level 3: +12 spirit damage per bullet
- Leap into the air and fly. While in flight, your weapon deals bonus spirit damage.
- 3: Crow Familiar
- Your crow familiar deals impact damage and applies a bleed that deals damage for 3% of the target’s current health per second
- Level 1: Crow Ricochets up to 2 times toward other enemies within 15 meters
- Level 2: -17 second cooldown
- Level 3: +3% bleed and suppresses healing by -40%
- Your crow familiar deals impact damage and applies a bleed that deals damage for 3% of the target’s current health per second
- 4: Assassinate
- Use your scoped rifle to fire a powerful shot over long distances. Deal only partial damage until fully charged after 1 second of being scoped. Does bonus damage to enemies with less than 50% health remaining. Landing a killing blow on a player with Assassinate grants 250 bonus souls.
- Level 1: -20 second cooldown
- Level 2: +140 bonus damage
- Level 3: +600 souls per Assassination
- Use your scoped rifle to fire a powerful shot over long distances. Deal only partial damage until fully charged after 1 second of being scoped. Does bonus damage to enemies with less than 50% health remaining. Landing a killing blow on a player with Assassinate grants 250 bonus souls.
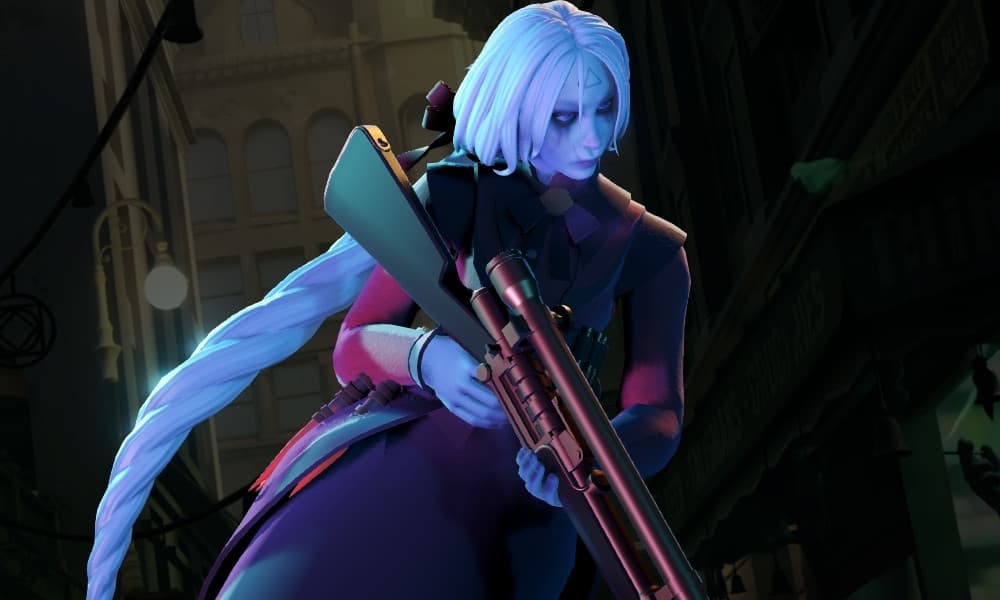
Vindicta would be in C-Tier if it weren’t for one thing: Her ultimate. Her base kit is just ok, with her 1 being a generally strong CC tool and her 2 giving her a higher vantage point at the cost of her being exposed and out in the open. She’s very, very easy to kill, and gets obliterated by Slowing Hex.
But Vindicta’s ultimate, when maxed first, gives her 850 souls per kill on top of what she’d already gain for netting a kill in the first place. If a fight goes well for her, she can get a swing of thousands of souls in her favor, allowing her to get all the items she needs to hard carry.
However, you have to get these kills with her ult for them to count, making Vindicta’s ability to snowball entirely dependent on being in the right place at the right time and securing the kill. As a result, she’s a B-Tier character.
If you want to give Vindicta a try, check out our guide to get the most out of her.
Wraith
Abilities
- 1: Card Trick
- Deal weapon damage to summon cards. Activate to throw a card that flies toward the enemy or point under your crosshair.
- Level 1: +1 Charge
- Level 2: +50 damage
- Level 3: +50% card summon rate
- Deal weapon damage to summon cards. Activate to throw a card that flies toward the enemy or point under your crosshair.
- 2: Project Mind
- Teleport to the target location
- Level 1: +15 meter cast range
- Level 2: Provides a 300 bullet shield for 8 seconds on teleport. Shield amount scales with spirit power
- Level 3: -30 second cooldown
- Teleport to the target location
- 3: Full Auto
- Temporarily boosts your fire rate by 20%. Nearby allies receive half the bonus.
- Level 1: -15 second cooldown
- Level 2: +5 spirit damage per bullet
- Level 3: +35% bullet lifesteal
- Temporarily boosts your fire rate by 20%. Nearby allies receive half the bonus.
- 4: Telekinesis
- Lift an enemy hero into the air, stunning them for a short time. When the lift ends, the target receives Telekinesis damage.
- Level 1: -30 second cooldown
- Level 2: +0.5 second duration
- Level 3: Telekinesis will target enemies in an area around Wraith
- Lift an enemy hero into the air, stunning them for a short time. When the lift ends, the target receives Telekinesis damage.
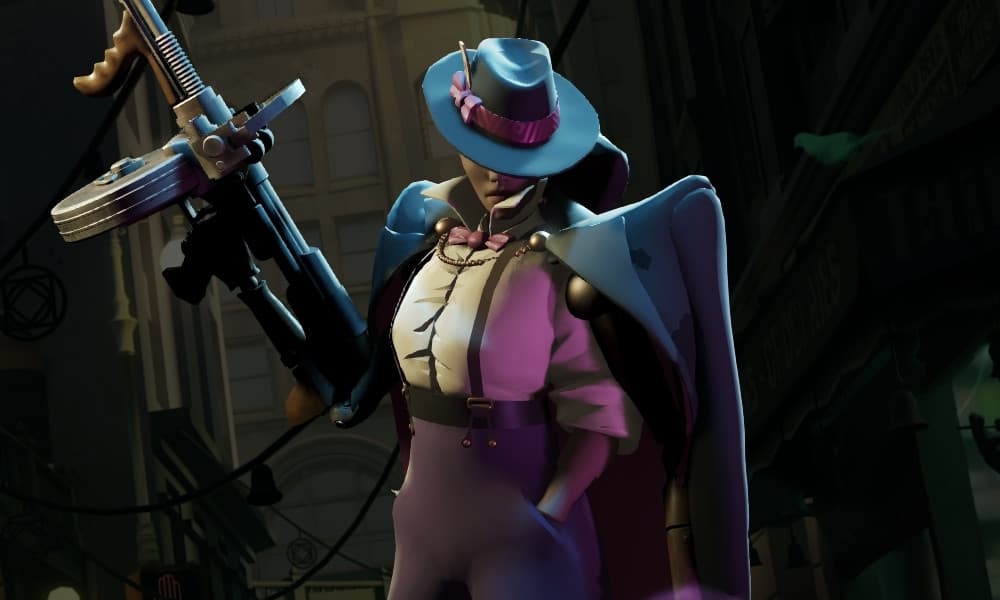
As a starter character, Wraith is great. She’s fairly safe, has a good primary fire that makes it easy to secure souls in lane, some pretty decent burst damage from her 1, a teleport, and an ult that dooms its target if they don’t have items to counter it. On paper, she should be good.
In reality, Wraith’s best build is 2 max with weapon damage. Her ult is easily countered by characters with I-frames or a Debuff Remover, and her remaining tools aren’t nearly as good as other DPS-focused characters. Infernus is straight-up better in most scenarios if you’re looking for someone to hold left click with.
Paradox

Abilities
- 1: Pulse Grenade
- Throw a grenade that begins pulsing when it lands. Each pulse applies damage, movement slow, and stacking damage amplification for Paradox against the victim.
- Level 1: +1 Pulse
- Level 2: -8 second cooldown
- Level 3: +45 Pulse damage
- Throw a grenade that begins pulsing when it lands. Each pulse applies damage, movement slow, and stacking damage amplification for Paradox against the victim.
- 2: Time Wall
- Create a time warping wall that stops time for all enemy projectiles and bullets that touch it. Enemies that touch the wall take damage for 10% of their max health and are slowed by 80% for 1 second.
- Level 1: +2 meter width, +1 meter height
- Level 2: +1 Charge
- Level 3: Enemies that touch Time Wall will be silenced for 3 seconds
- Create a time warping wall that stops time for all enemy projectiles and bullets that touch it. Enemies that touch the wall take damage for 10% of their max health and are slowed by 80% for 1 second.
- 3: Kinetic Carbine
- Start charging your weapon and gain increased movement speed once it’s fully charged. Your next shot will release the energy, dealing spirit damage and applying a time stop to the enemy hit. The damage dealt is an amplification of your current weapon damage. You can slow time on yourself by pressing right click while an empowered shot is available.
- Level 1: +0.5 second max stop duration
- Level 2: -10 second cooldown and +2 second speed boost duration
- Level 3: +50% max damage amp
- Start charging your weapon and gain increased movement speed once it’s fully charged. Your next shot will release the energy, dealing spirit damage and applying a time stop to the enemy hit. The damage dealt is an amplification of your current weapon damage. You can slow time on yourself by pressing right click while an empowered shot is available.
- 4: Paradoxical Swap
- Fire a projectile that swaps your position with the target enemy hero. While the effect occurs, you gain 100% spirit lifesteal and the enemy takes damage over time.
- Level 1: +15 meter cast range
- Level 2: +100 swap damage
- Level 3: -15 second cooldown
- Fire a projectile that swaps your position with the target enemy hero. While the effect occurs, you gain 100% spirit lifesteal and the enemy takes damage over time.
In terms of survivability, Paradox is one of the better DPS characters. She’s got strong range with her charged 3, decent wave clear with her 1, and the combo of her 2 and ult makes her incredibly difficult to 1v1. Playing around Paradox’s 2 properly is the biggest difference between a good player and a great one, with it being her strongest ability despite being mostly utility-oriented.
However, her raw DPS pales in comparison to other long-range characters like Grey Talon and Vindicta, and her strongest combo requires her to throw herself into the enemy team. Paradox isn’t bad, but she is a bit of a specialist character and requires some finesse.
You won’t be carrying games on this character, but you can be an absolute pain in the neck for the enemy team and cause a lot of havoc for anyone trying to kill you.
Lash

Abilities
- 1: Ground Strike
- Stomp the ground beneath you, damaging enemies in front of you. If you perform Ground Strike while airborne, you quickly dive toward the ground. Damage scales with height but grows slower after 25 meters.
- Level 1: -10 second cooldown
- Level 2: Struck enemies are popped into the air and slowed by 50% for 3 seconds
- Level 3: +110% damage per meter and improved scaling
- Stomp the ground beneath you, damaging enemies in front of you. If you perform Ground Strike while airborne, you quickly dive toward the ground. Damage scales with height but grows slower after 25 meters.
- 2: Grapple
- Pull yourself through the air toward a target. Using Grapple also restores one stamina charge, as well as all air jumps and dashes.
- Level 1: -20 second cooldown
- Level 2: +20 meter cast range and gain +6 weapon damage for 10 seconds
- Level 3: +20% fire rate to weapon bonus buff
- Pull yourself through the air toward a target. Using Grapple also restores one stamina charge, as well as all air jumps and dashes.
- 3: Flog
- Strike enemies with your whip, stealing life from them.
- Level 1: Apply 35% movement speed slow for 3 seconds
- Level 2: -15 second cooldown
- Level 3: +105 damage and applies 35% fire rate slow
- Strike enemies with your whip, stealing life from them.
- 4: Death Slam
- Focus on enemies to connect whips to them. After channeling, connected enemies are lifted and stunned, followed by being slammed into the ground. Your victims and any enemies in the landing zone will be damaged and slowed.
- Level 1: +8 meter max throw distance
- Level 2: +100 damage
- Level 3: -60 second cooldown
- Focus on enemies to connect whips to them. After channeling, connected enemies are lifted and stunned, followed by being slammed into the ground. Your victims and any enemies in the landing zone will be damaged and slowed.
Lash is an absolute 1-trick magnet. He’s got a unique playstyle with the high mobility on his 2, a ton of burst damage on his 1, and an ult that can be an absolute game-changer if he manages to grab the right targets and pull them into his team. Lash is one of few characters in Deadlock who’s got a 1-shot combo between grabbing someone with your ult and getting max slam damage on them.
However, he’s also kind of awkward to play. Getting into the air and staying there is easier said than done, and a stray Slowing Hex will immediately ground him. Additionally, playing Lash in small rooms is almost impossible, and he needs wide open space to operate.
In ideal scenarios, Lash can be at or near an S-Tier level. However, the skill required to use him properly combined with him needing a lot of setup and momentum to work make him a B-Tier pick. Good in the right hands, but not very useful otherwise.
Kelvin

Abilities
- 1: Frost Grenade
- Throw a grenade that explodes into a cloud of freezing ice, damaging and slowing enemies.
- Level 1: +1 Charge
- Level 2: Frost Grenade now heals 135 HP to friendly targets. Scales with spirit
- Level 3: +175 damage
- Throw a grenade that explodes into a cloud of freezing ice, damaging and slowing enemies.
- 2: Ice Path
- Kelvin creates a floating trail of ice and snow that gives movement speed bonuses to him and his allies. Kelvin gains 60% slow resistance for the duration. Enemies can also walk on the floating trail.
- Level 1: +4 meters per second sprint speed
- Level 2: -16 second cooldown
- Level 3: While active, gain +1 spirit power per meter of ice trail created. Max 55 spirit power
- Kelvin creates a floating trail of ice and snow that gives movement speed bonuses to him and his allies. Kelvin gains 60% slow resistance for the duration. Enemies can also walk on the floating trail.
- 3: Arctic Beam
- Shoot freezing cold energy out in front of you, damaging targets and building up movement and fire rate slow against them the longer you sustain the beam on them. You have reduced movement speed while using Arctic Beam.
- Level 1: -8 second cooldown
- Level 2: +40 DPS
- Level 3: Fires 2 additional Arctic Beams toward enemies within 15 meters of the last target hit
- Shoot freezing cold energy out in front of you, damaging targets and building up movement and fire rate slow against them the longer you sustain the beam on them. You have reduced movement speed while using Arctic Beam.
- 4: Frozen Shelter
- Kelvin freezes the air around him, creating an impenetrable dome around himself. While in the dome, allies rapidly regenerate health and enemies are slowed by 35%.
- Level 1: +40% fire rate slow
- Level 2: -40 second cooldown
- Level 3: +70 health regen and now scales with spirit power
- Kelvin freezes the air around him, creating an impenetrable dome around himself. While in the dome, allies rapidly regenerate health and enemies are slowed by 35%.
Kelvin is one of few support characters in Deadlock, with a focus on CCing and zoning enemies. He was one of the best heroes in the game in its early days, but he’s had a bit of a fall from grace due to one big nerf: His 3’s slow beam used to disarm, but now it’s just a normal slow.
When Kelvin had a disarm, he was a real standout as someone who could counter carries who relied heavily upon weapon damage to put the game on their back. Now, he requires a bit more team play to do well, and his 3 is truly his best ability. The other two are alright outside of his ult.
Kelvin’s ultimate can either win the game for your team, or it can lose you the match. Manage to throw your ult up around Rejuvenator and steal it? Your teammates will love you. Accidentally wall off your ulting Haze? Not so much. He’s a strong character, but there are better options.
C-Tier
McGinnis
Abilities
- 1: Mini Turret
- Deploy a Mini Turret that automatically shoots enemies. The turret expires after a limited lifetime. Turrets gain 30% of McGinnis’ max HP and have 60% spirit resist. They deal reduced damage to troopers and objectives.
- Level 1: +1 Charge and turrets apply +25% movement speed slow
- Level 2: +10 meter attack range and +10% turret fire rate
- Level 3: +45 turret DPS
- Deploy a Mini Turret that automatically shoots enemies. The turret expires after a limited lifetime. Turrets gain 30% of McGinnis’ max HP and have 60% spirit resist. They deal reduced damage to troopers and objectives.
- 2: Medicinal Specter
- Deploy a spirit that heals nearby units
- Level 1: +35% fire rate on units being healed by Medicinal Specter
- Level 2: -18 second cooldown
- Level 3: +5% max health regen per second
- Deploy a spirit that heals nearby units
- 3: Spectral Wall
- Creates a wall that divides the terrain in half. On creation, the wall deals damage and applies a 25% slow to enemies hit.
- Level 1: Removes 1 stamina and amps McGinnis’ damage by 25% on hit enemies for 7 seconds
- Level 2: -15 second cooldown
- Level 3: Adds a 1 second stun to enemies hit by Spectral Wall
- Creates a wall that divides the terrain in half. On creation, the wall deals damage and applies a 25% slow to enemies hit.
- 4: Heavy Barrage
- Unleashes a volley of rockets that home in on a targeted location.
- Level 1: Applies 35% movement slow
- Level 2: -50 second cooldown
- Level 3: +30 damage per rocket
- Unleashes a volley of rockets that home in on a targeted location.
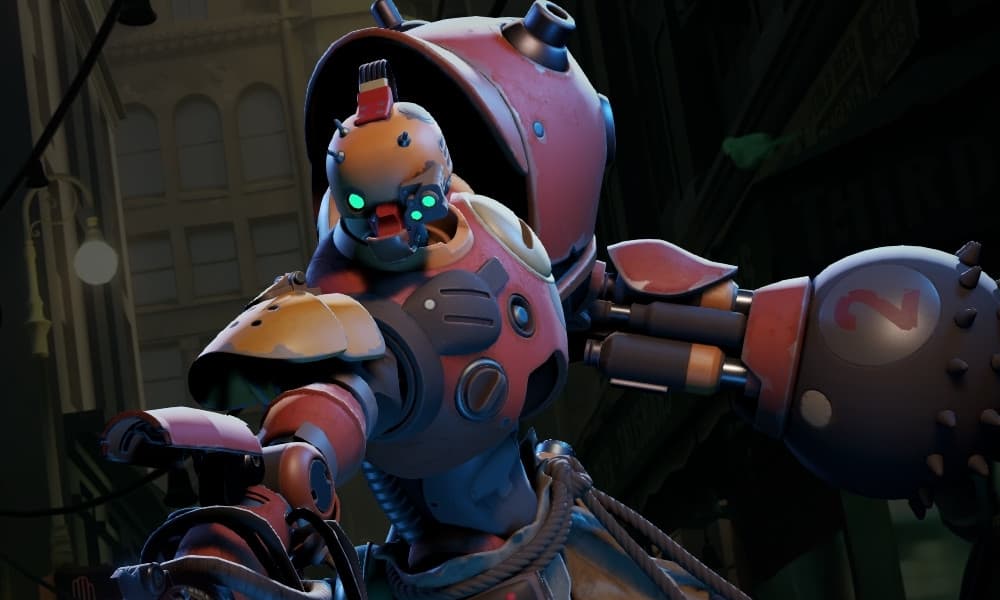
For a character who’s, on the surface, built around placing turrets and playing around them, McGinnis’ turrets aren’t that great. This makes her 1 and stationary heal on her 2 a bit redundant unless she gets enough setup time to toss a bunch of turrets down, and her ultimate is kind of awkward to use.
This leaves McGinnis with a wall and a gun, which, to be fair, can be pretty effective. Your best bet on her is to either rush gun damage and Fleetfoot to run people down, or to fully invest in turret damage.
While she has niche use cases, McGinnis is easily the worst character in Deadlock in terms of overall usefulness. She’s not terrible, but she’s only good at certain things and has a lot of weaknesses.